The art of turning soft wax into precious metal jewelry is a magic that humanity has known for centuries. But how exactly does this transformation take place? The lost wax casting technique is as captivating as it is complex. This post will dive into the heart of this process, from conceiving a wax model to the thrill of seeing that design come to life in metal.
Step-by-Step Guide to Wax Modeling
| Steps | Important Points | Tips and Tricks |
| Conceptualization | Visualize the design. | Sketch out a blueprint for reference. |
| Selecting Wax | Understand the properties of each type. | Test waxes for flexibility & detailing capability. |
| Sculpting | Shape the wax model. | Start with broader strokes and refine with precision tools. |
| Detailing | Enhance with intricate patterns and textures. | Layering, controlled heating, clean tools regularly. |
| Troubleshooting | Address common challenges. | Practice on scrap wax, ensure controlled heating. |
Introduction to Lost Wax Casting
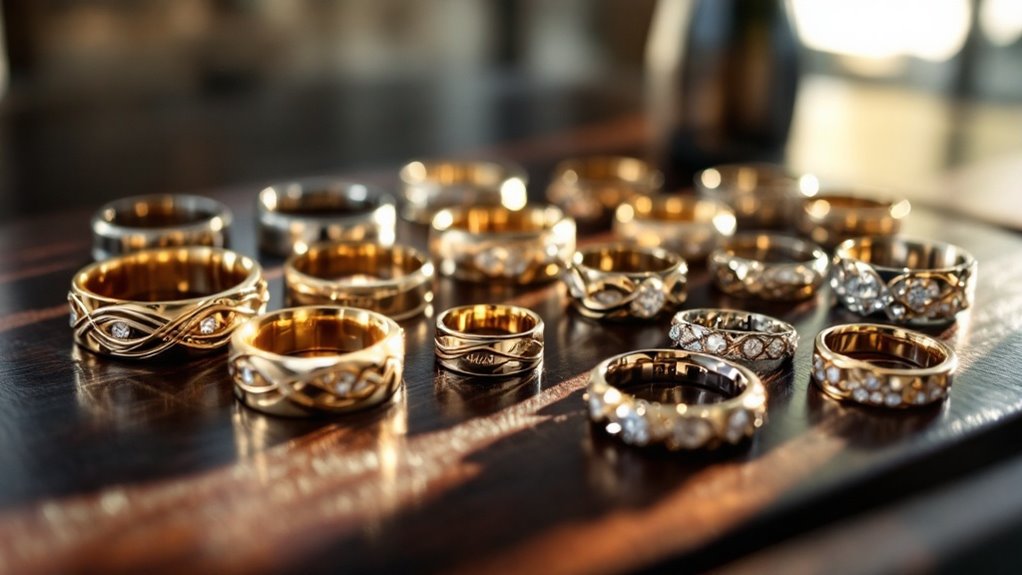
Lost Wax Casting is a unique and ancient technique used to craft exquisite items, mainly jewelry. At its core, it’s about creating a model out of wax, making a mold from that model, and then pouring molten metal into the mold. Once cooled, we get a metal item that mirrors the original wax model. Neat, isn’t it?
So, how did we stumble upon such a fantastic method?
- History in a Snapshot: The earliest evidence of Lost Wax Casting dates back to over 5,000 years ago! It’s been found in diverse civilizations, from Africa to China.
- Why “Lost” Wax?: It’s not about misplacing the wax! Instead, the term “lost” refers to the wax being melted away or “lost” during the process.
- Materials: While we mostly talk about metals, the casting isn’t just limited to them. We can use various metals, including gold, silver, and bronze. The choice of material can significantly influence the final product’s appearance and durability.
Key Steps in Lost Wax Casting:
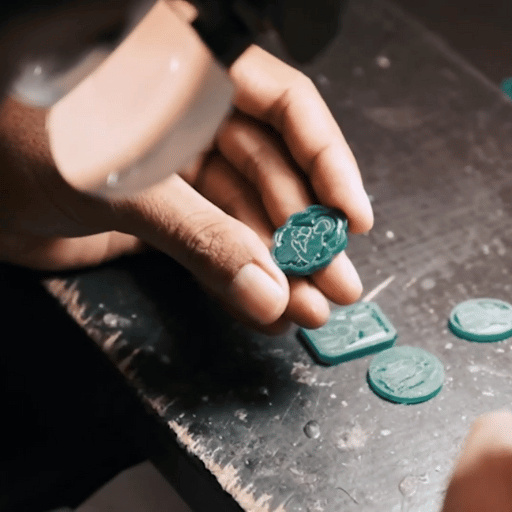
- Wax Model Creation: Craft a detailed model of the desired item.
- Mold Creation: Encase the wax model in a ceramic material. This forms a mold.
- Wax Removal: Heat the mold. The wax melts and is “lost”, leaving behind an empty cavity.
- Metal Pouring: Molten metal is poured into this cavity.
- Breaking the Mold: Once cooled, the ceramic mold is broken away, revealing the metal piece.
Types of Wax Used in Casting
It’s not just about a one-size-fits-all solution when it comes to Lost Wax Casting. The type of wax chosen can genuinely make or break the quality and details of the final product. Let’s delve into this topic.
- Injection Wax: This is probably the wax most folks are familiar with. It’s soft, pliable, and excellent for intricate designs. As its name suggests, it’s used mainly for injection molding. Why? Because it flows smoothly and easily fills detailed molds.
- Carving Wax: Now, this is the artist’s best friend. It’s hard and can be carved, scraped, and shaped, much like wood or clay. If you’re after making unique, one-of-a-kind pieces with a lot of detailed work, carving wax is the way to go.
- Sheet Wax: Think of this as the paper of the wax world. It’s sold in sheets and is useful for creating models that have flat sections. It can be layered, cut, and molded to your heart’s content.
- Sticky Wax: Here’s an interesting one. Sticky wax is mainly used to join pieces of wax together. It melts easily and acts like glue in the wax world.
Key Points about Wax Types:
| Wax Type | Main Use | Key Characteristics |
| Injection Wax | Filling detailed molds | Soft, pliable, smooth-flowing |
| Carving Wax | Detailed hand-carved designs | Hard, malleable, perfect for carving |
| Sheet Wax | Models with flat sections | Sold in sheets, easily cut and layered |
| Sticky Wax | Joining wax pieces | Melts easily, acts as adhesive for waxes |
Selecting the Right Wax: Pros and Cons
The path to a dazzling final piece in Lost Wax Casting is paved with decisions, and one of the most significant choices is the type of wax. It’s a bit like choosing between pencils, charcoal, or paints when sketching; each medium has its strengths and challenges. Let’s unravel the mystery behind selecting the right wax for your projects by weighing the pros and cons of each type.
| Wax Type | Pros | Cons |
| Injection Wax | Easy flow, captures detail | Not for unique pieces |
| Carving Wax | Perfect for hand-crafted designs | Requires skill to shape |
| Sheet Wax | Consistent thickness, flexible | Not for intricate designs |
| Sticky Wax | Attaches wax pieces | Not for primary model creation |
In essence, understanding the character and quirks of each wax type empowers you to make informed decisions. It’s essential to reflect upon the project’s requirements, the desired level of detail, and the number of copies you intend to produce.
Once these factors are clear, matching them to the strengths of each wax type becomes much simpler. It’s like choosing the perfect dance partner – when the match is right, everything flows seamlessly!
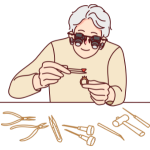
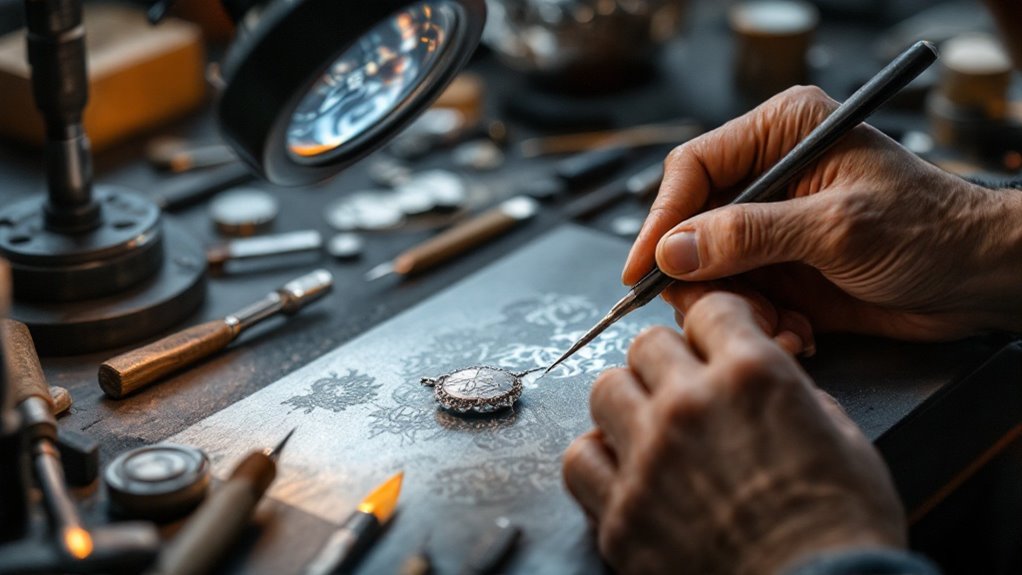
Essential Tools for Wax Sculpting
Arming yourself with the right tools not only enhances the quality of your work but also makes the process more enjoyable. Over time, you’ll develop a rapport with your tools, understanding their nuances and making them extensions of your creativity. Happy sculpting!
Wax Files:
- Purpose: These are designed specifically for wax and help in smoothing out rough edges and refining your design.
- Tip: Opt for both flat and rounded profiles to increase versatility in shaping.
Wax Carving Knives:
- Purpose: Perfect for larger cuts and removing chunks of wax.
- Tip: A good grip ensures precision, so choose a handle that feels comfortable.
Dental Tools:
- Purpose: Surprising, right? These are fantastic for intricate detailing, carving out fine lines, and creating textures.
- Tip: Different tip shapes, like pointed or hooked, can serve various detailing purposes.
Heating Tools:
- Purpose: Useful for softening wax, making it easier to mold and shape.
- Tip: A variable temperature setting allows for better control.
Wax Pen:
- Purpose: It’s a tool that heats small wax pieces, helping in delicate detailing or adding embellishments.
- Tip:Always maintain a steady hand and start with a lower temperature to avoid melting the main piece.
Sculpting with Vision: From Idea to Wax Form
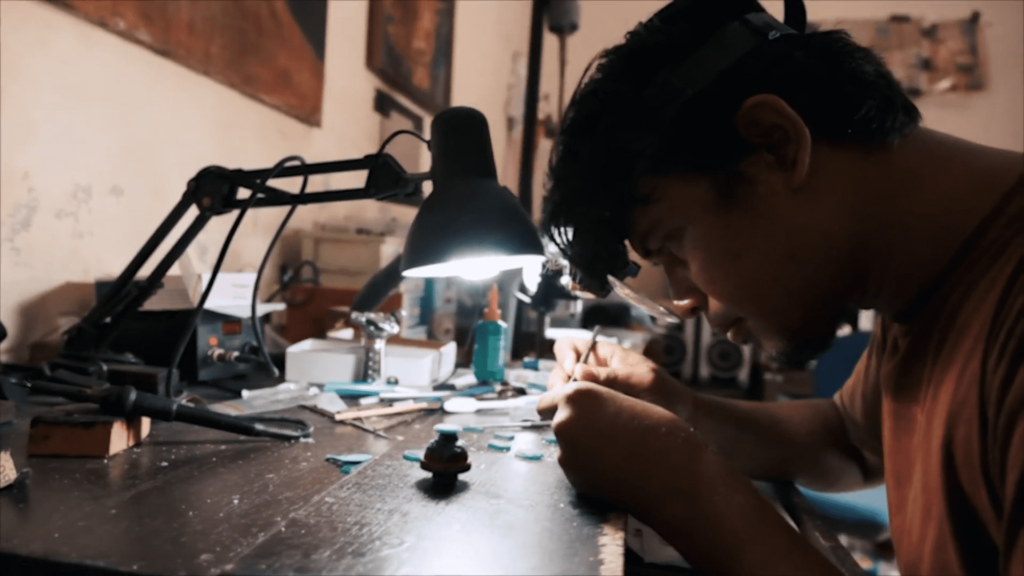
Crafting in wax is more than just maneuvering through a malleable substance. It’s about breathing life into a vision, transforming a mere idea into a tangible form. The magic lies in the journey – a dance between imagination and execution. Let’s trace this transformative path, step by step.
1. Conceptualization:
- What it involves: Before diving hands-first into wax, there’s a world of imagination to explore. Sketch, doodle, or simply visualize the design.
- Tip: Use reference images, or even mood boards, to consolidate your vision.
2. Choosing the Right Wax:
- What it involves: Depending on the intricacy and nature of your envisioned design, select a wax type. Each has its own strengths, as discussed earlier.
- Tip: Sometimes, a combination of waxes can offer the desired flexibility and precision.
3. Initial Shaping:
- What it involves: Using carving knives or hands, give the wax a rudimentary shape, following the rough outlines of the design.
- Tip: Always start bigger, allowing room for refinement.
4. Detailed Carving:
- What it involves: This is where dental tools and wax pens come into play. Delve into the details, carving out the nuances.
- Tip: Regularly compare with your initial sketches or references to ensure fidelity to your vision.
5. Refinement:
- What it involves: Smooth out any imperfections, ensuring the final wax model is polished and perfect.
- Tip: Use wax files for an impeccable finish, paying attention to even the tiniest of details.
Crafting the Perfect Wax Model: Tips and Tricks
Walking the path of wax sculpting can feel like a thrilling treasure hunt. Sometimes you stumble upon little secrets that transform your journey, elevating your craft from good to extraordinary. Over the years, I’ve gathered a trove of these tiny gems of wisdom. Ready to explore? Let’s dive in.
Maintain Proper Temperature:
- Why it matters: Wax reacts distinctly to temperature. Working with wax that’s too cold can cause it to crack, while overly softened wax can lose detail.
- Quick Tip: Use heating tools with adjustable settings to achieve the right consistency.
Master the Art of Layering:
- Why it matters: Sometimes, building your model in layers, especially for intricate designs, can yield more precise results.
- Quick Tip: Let each layer set properly before adding the next to avoid unintentional melding.
Embrace Mistakes:
- Why it matters: In the world of wax, errors can often lead to surprising design elements or teach invaluable lessons.
- Quick Tip: Instead of discarding a flawed piece, see if it can be reworked or integrated innovatively.
Frequent Tool Cleaning:
- Why it matters: Clean tools ensure smooth carving and detailing, preventing unwanted residue or wax buildup.
- Quick Tip: Keep a cloth or tissue nearby to wipe tools during the sculpting process.
Test Before Finalizing:
- Why it matters: Before settling on a design, especially if you’re new to a technique, practice on a scrap piece.
- Quick Tip: This not only helps in honing skills but also conserves your primary wax for the perfect model.
Common Challenges and Solutions in Wax Modeling
As any artist will attest, the road to mastering an art form is sprinkled with a fair share of hurdles. Wax modeling, while magical, has its moments of sticky situations (pun intended). But fret not! For every challenge, there’s a solution waiting to be discovered.
| Challenge | Description | Tried and True Solution |
| Cracking | Wax model develops cracks | Warm gently & layer up |
| Detail Loss | Intricate patterns aren’t clear | Clean tools & use wax pen |
| Uneven Surfaces | The model’s surface isn’t smooth | Use wax files or a heated spatula |
| Molding Difficulty | The wax isn’t shaping right | Explore different wax types |
| Attachment Issues | Struggling to add elements to the model | Melt surfaces slightly before attachment |
Capturing Detail: Techniques for Precision
Detailing is the soul of your wax model. It’s what makes a piece unique, personal, and utterly captivating. Embracing these techniques, you’ll find the path to precision less daunting and more exhilarating. Every stroke, every detail adds to your story.
| Technique | How-To | Key Benefit |
| Precision Tools | Use fine-tipped tools | Enhanced detailing capability |
| Layering | Add details sequentially | Structured & distinct detailing |
| Controlled Heating | Soften specific areas | Prevents unintended distortions |
| Tool Cleaning | Regularly wipe tools clean | Maintains tool precision |
| Practice on Scrap Wax | Test on spare pieces first | Improves skill & reduces errors |
FAQ Section
Which type of wax is best for detailed designs?
For intricate and detailed designs, carving wax is often preferred due to its harder consistency and ability to retain fine details.
Can I reuse leftover wax from a previous project?
Yes, leftover wax can be melted down and reused. However, ensure it’s free of contaminants for the best results.
How do I prevent my wax model from cracking or breaking?
Ensure you select the right type of wax for your project. Additionally, using controlled heating and allowing layers to set properly can prevent cracks or breaks.
How do I refine the details in my wax model?
Employ precision tools, practice on scrap wax, and use controlled heating. Regularly cleaning your tools also ensures optimal precision.
Conclusion
Mastering the art of creating wax models for lost wax casting is a journey that requires patience, precision, and practice. By understanding the right materials, techniques, and addressing common challenges, you’re well on your way to crafting masterpieces. Always remember, every detail adds to your unique story, so craft with passion.
Leave a Reply